 pyomn
pyomn
Creating knitted glove models involves several steps, from conceptualizing the design to selecting materials and actually knitting the gloves. Here’s a general guide to help you create knitted glove models:
1. Design:
- Consider the Purpose: Define the purpose of the gloves. Are they for warmth, fashion, sports, or work? This will influence the design and material selection.
- Size and Fit: Determine the size range for your gloves. Consider different hand sizes and shapes for a broader audience.
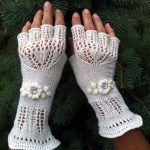
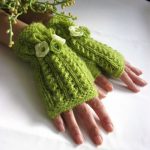
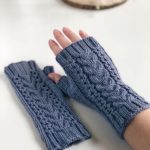
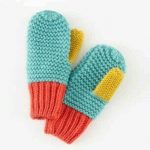
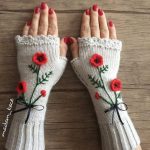
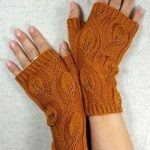
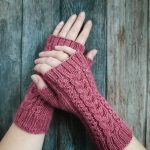
- Style Elements: Decide on any specific style elements, such as ribbing, cables, lace, or color patterns.
2. Materials:
- Yarn: Choose a yarn suitable for gloves. Consider factors like warmth, durability, and comfort. Wool is a popular choice for warmth, while cotton or bamboo might be preferred for lighter gloves.
- Needles: Select appropriate knitting needles based on the yarn weight and your desired gauge.
3. Gauge Swatch:
- Knit a gauge swatch to determine the number of stitches and rows per inch. This helps ensure your gloves will fit properly.
4. Pattern:
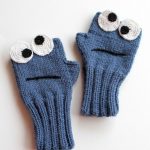
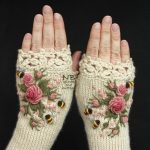
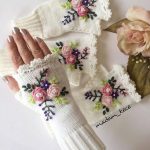
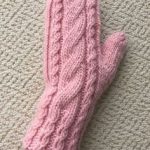
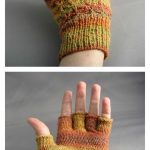
- Basic Structure: Decide on the basic glove structure. Will they be fingerless gloves, mittens, or gloves with individual fingers?
- Thumb Gusset: For gloves with individual fingers, you may need to incorporate a thumb gusset for a better fit.
5. Knitting:
- Casting On: Start by casting on the required number of stitches for the cuff.
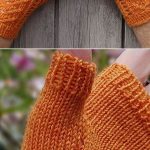
- Cuff: Knit the cuff using your chosen stitch pattern.
- Hand: Work the hand section, shaping for fingers or maintaining a tube shape for mittens.
- Thumb: If your gloves have individual fingers, create the thumb section. This might involve placing thumb stitches on hold and then picking them up later.
- Fingers: For gloves with individual fingers, knit each finger separately, decreasing at the tips.
6. Finishing:
- Weaving in Ends: Securely weave in all loose ends.
- Blocking: Block your gloves to shape them and even out the stitches. This is especially important for lace or textured patterns.
7. Final Touches:
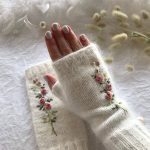
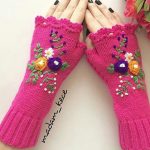
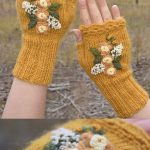
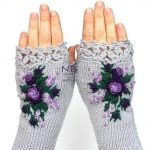
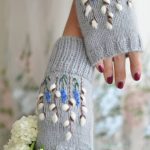
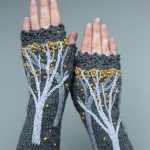
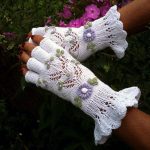
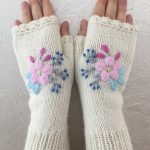
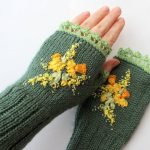
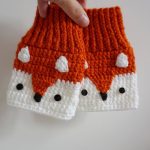
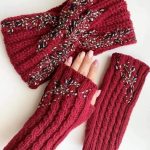
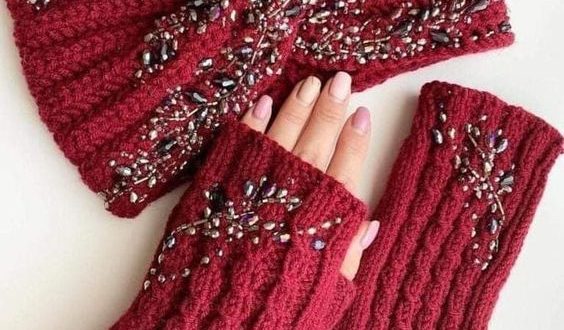
- Additions: Consider adding any embellishments, such as buttons, embroidery, or other decorative elements.
- Labeling: If you’re creating a model for a brand or business, consider adding a label or tag.
8. Testing:
- Wear and Test: Test your glove model by wearing it. Ensure that it fits well and is comfortable.
9. Documentation:
- Record the Pattern: If you’ve created a unique pattern, document it clearly for future reference or sharing.
10. Photography:
- Take Photos: Capture high-quality images of your glove model for documentation or promotional purposes.
Remember, this is a general guide, and specific details might vary based on the complexity of your design. Also, consider consulting existing glove patterns or tutorials for additional guidance.